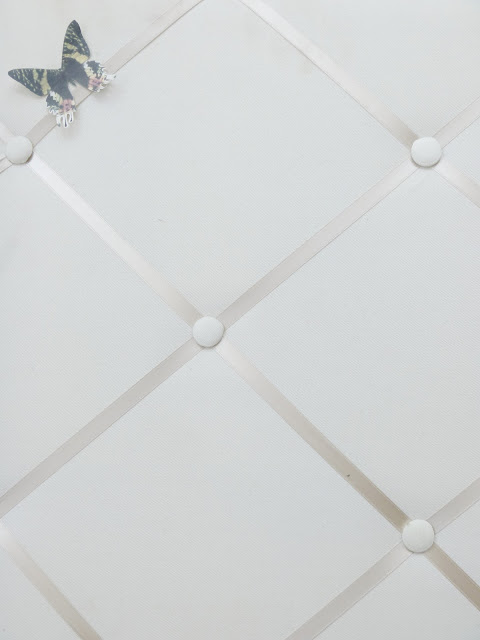
DIY French Memo Board
Picking out new things to wear really is fun, I'll admit that and so is dorm decor. So how about a deceptively easy piece you can DIY to give right now!? Keep reading for how to make these French style memo boards which doubles as both art and a cure for homesickness:
THE HOW >
For the longest time I've really wanted to make one of these. With so many canvases and ribbon laying around it's long been at the top of my DIY list but you know how some things keep getting pushed back. Finally, thanks to some rain killing other plans one now hangs on the wall covered in a jumble of mementos. Here's what you'll need to make one too:
What You Will Need:
- Stretched canvas (old pieces of recycled art totally work too)
- Enough fabric to cover front
- Ribbon
- Staples, thumb tacks of brads
- Batting or thin foam sheets
- Buttons, pins or earrings
- Thread & needle
- Hammer
- Glue (spray adhesive works best)
Putting It Together:
1) Spray the front of the canvas with adhesive or paint with glue. Lay batting or foam sheets recycled from packing materials over top of front of canvas and smooth flat with hands. Allow to fully dry and trim off excess.
2) Place canvas face down on wrong side of fabric and cut around leaving 3 inches on all side so the fabric can wrap around the finished memo board. Stretch fabric over canvas and secure with a stapler, thumbtacks or with brads. Use a hammer to fully secure.
3) Attaching the end of each ribbon used to the back of your canvas (a glue gun is helpful for this step), starting at each corner, crisscross over to form a diamond pattern. The length and amount of ribbons will depend on the size of your canvas. For instance mine is 20 x 18 inches and needed 6 rows of ribbon measuring a total of 120 inches of ribbon.
4) In the intersections where the ribbons meet apply a button, tack, brad or earring (vintage junk jewelry pins and earrings work great for this). Sew in place all the way through the layers to the back of the canvas, tie off and apply glue to the knot. If using stud earrings or pins, poke through all layers and hammer flat in the back. This gives the classic quilted look French memo boards are often having.Image: mam for Gave That


