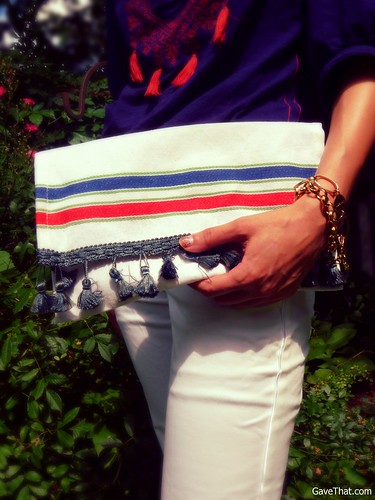
DIY Placemat Clutch Bags


The DIY + How To Do It

What You Will Need:
- Placemat(s)
- Sewing thread and a needle or hot or fabric glue
- Fabric for a lining (optional)
- Piece of cardboard (optional)
- Embellishments such a trim, beads, sequins, tassels, coins, crystals (optional)
- Velcro hook & loop tape
How To Do It:
There are two ways these can be put together. One way is the old machine or hand sewing method which is relatively easy thanks to most placemats having a finished edge. Following the stitching already there makes an easy guide to follow. The other even quicker way is to use fabric or a hot glue gun to seal the sides of the bag.
1) Depending on which method is being used to create the sides of the bag, it's as easy as folding the placemat into thirds. Ironing both the top and bottom helps the clutch keep its shape while creating the sides. This is also the time to add the lining if used and the piece of cardboard if the clutch is to be more structured and less slouchy. To do this, use the placemat as the template and cut out a piece of fabric for the liner the size of the placemat. The cardboard should be 1/3 the size of the placemat to fit along the back wall, behind the lining.
2) Create the sides of the bag by either sewing along the pre-existing seams or with glue along the seam until the edge ends. If gluing a heavy book or clamps will help the fabric bind together.
3) That's really it for the clutch but adding embellishments can including from beads, coins, tassels, crystals, fabric paint, monograms... the bags on Shopbop are great inspiration. Also adding a piece of Velcro hook & loop tape to the flap can help keep the flap more secure. See the video below for the no-sew version.
Image: Magda and mam for Gave That
